The Tongariro Alpine Crossing is an iconic New Zealand hike. It is known as one of the best hikes in New Zealand and even the world. The best part is, you don’t need days to complete it or an advanced level of fitness or alpine experience. This hike can be completed in just one day by anyone with a decent level of fitness.
I completed this hike in October 2022 with my family. We were incredibly lucky to have a perfectly sunny day making this hike one of the most memorable hikes ever.
I went into this hike pretty unprepared and with little expectations and I must say I was definitely blown away! Shout out to my mum who did all of the preparation research in advance for our trip. Many of the tips she found we used and are included in this post. A lot of these tips for the Tongariro Alpine Crossing are things I definitely needed to know before going.
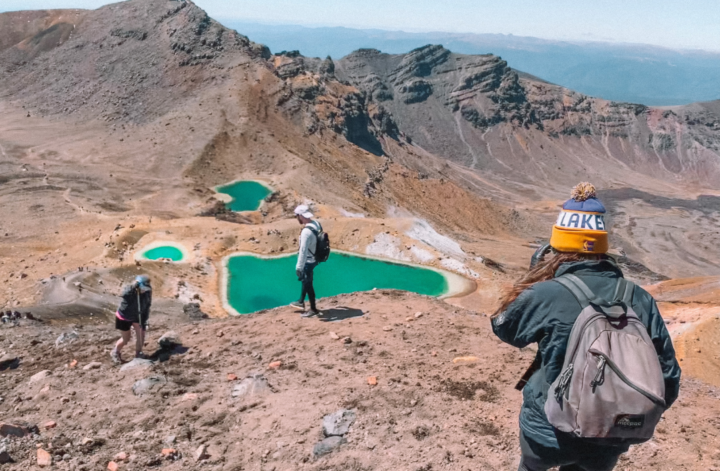
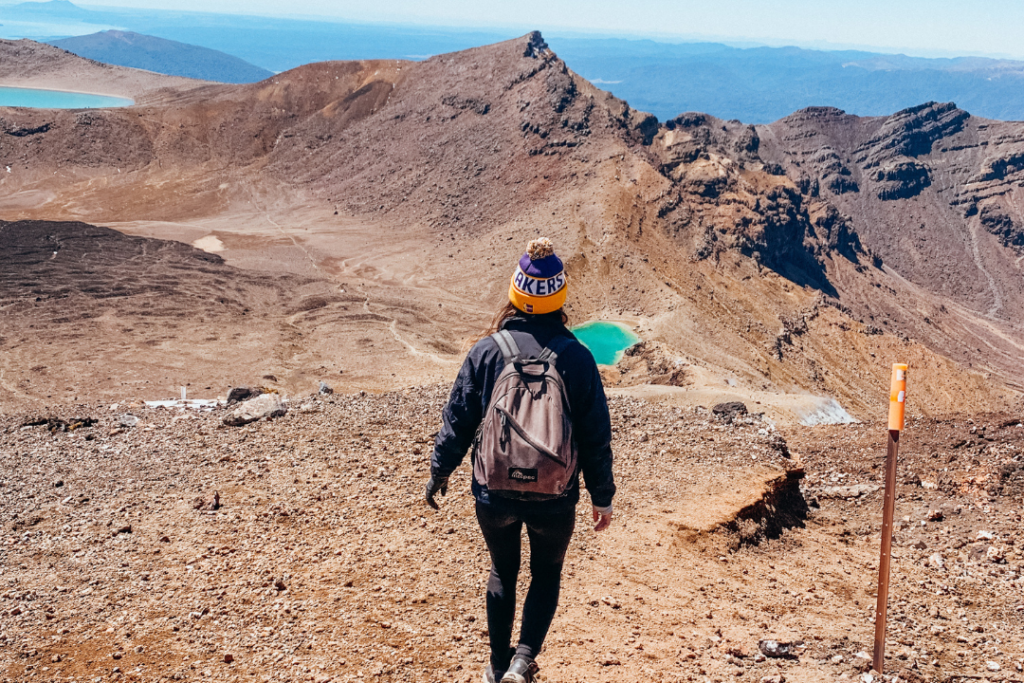
The scenery of this hike is literally out of this world. You will honestly feel like you have landed on a different planet (or on the set of Lord of the Rings). It is unbelievably amazing and should be on everyone’s bucket list.
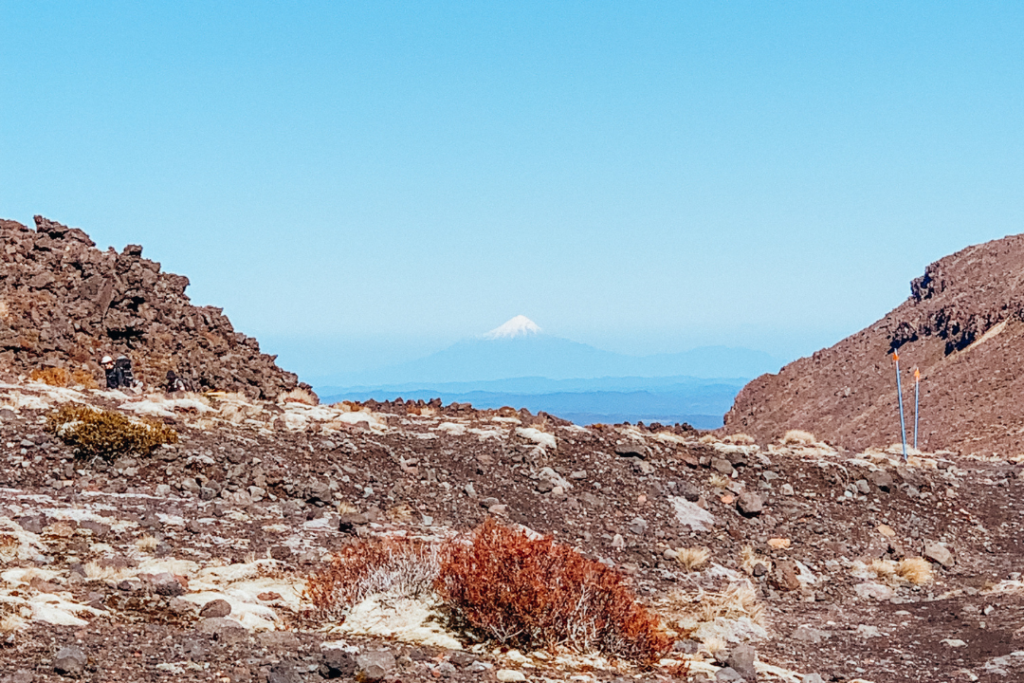
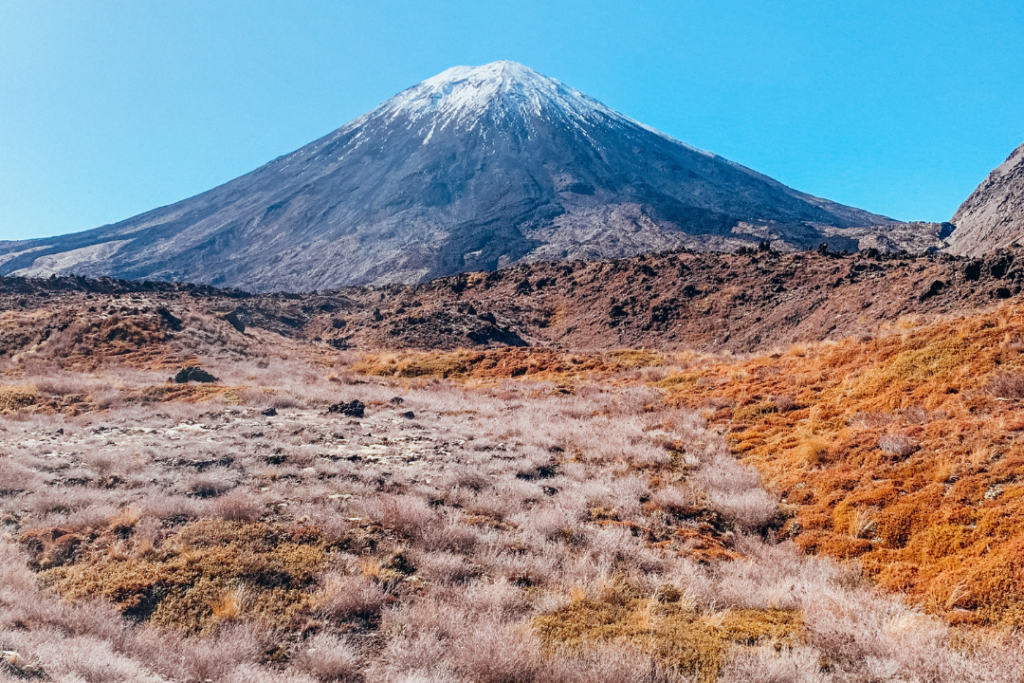
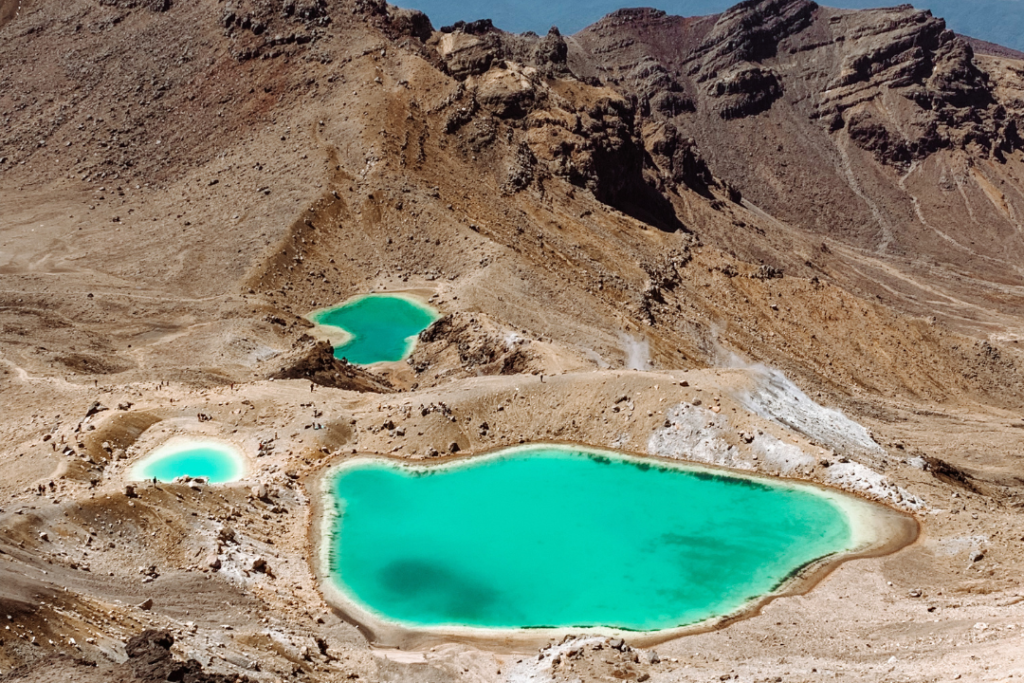
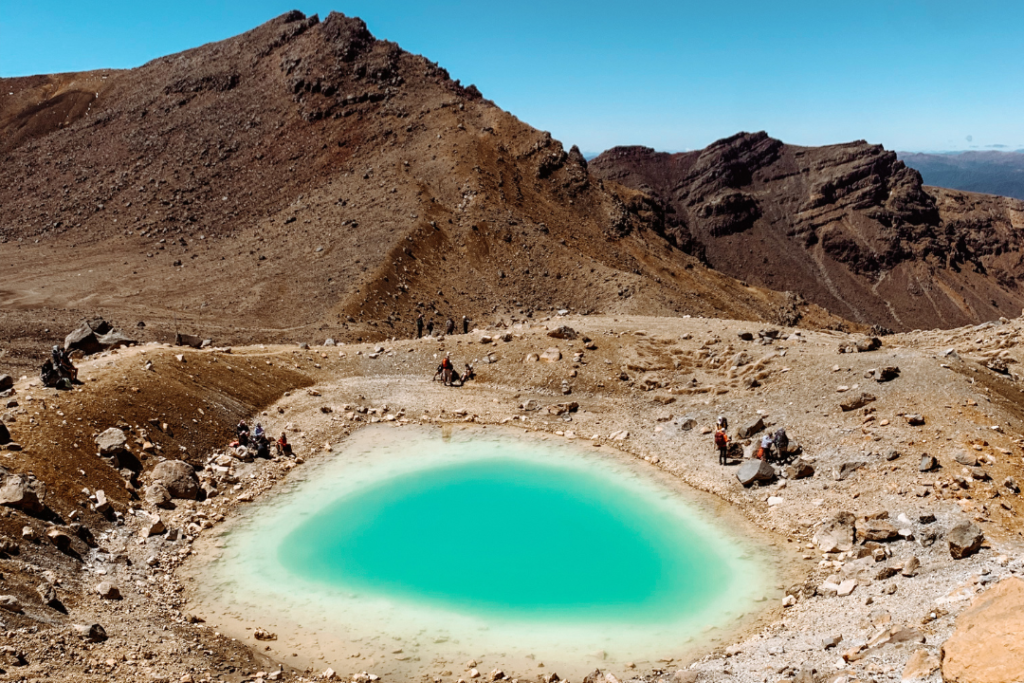
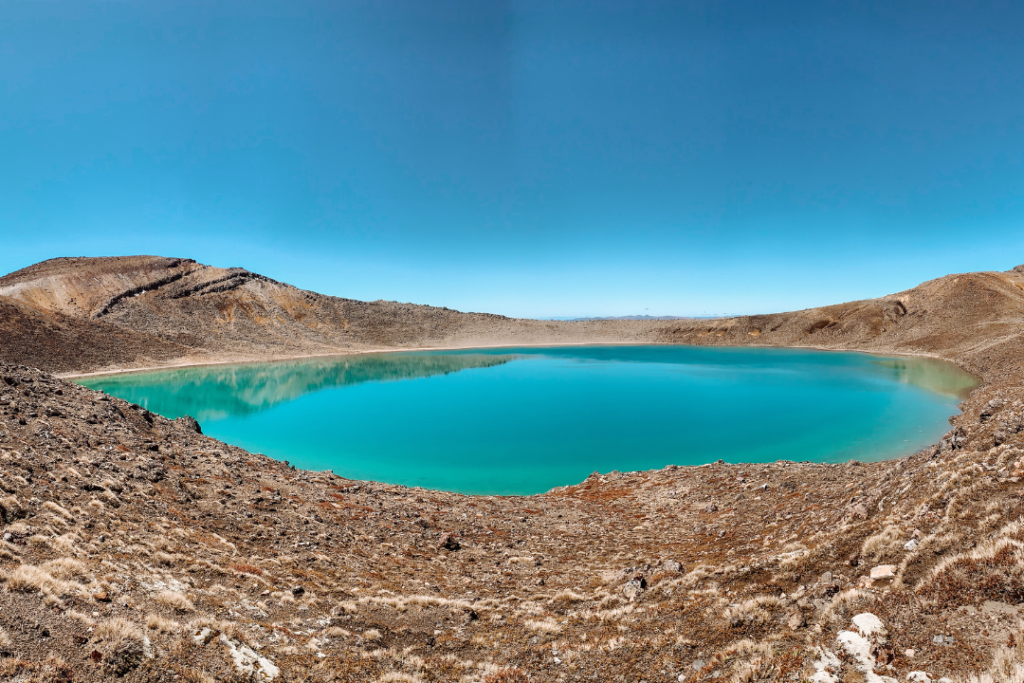
This hike is located in Tongariro National Park and is 19.4km (12 miles) and 6-11 hours to complete. This trail takes you up to an incredible red crater with unreal views of the famous emerald and blue lakes. You will be spoiled by views of volcanoes all around you and on a clear day like ours, you will even be able to see Mt Taranaki in the distance.
It’s very popular with tourists and New Zealanders alike, and for very good reason! However, it is always good to be extra prepared for big hikes like this, especially if you haven’t attempted something like this before. Continue reading to learn 21 super important things you need to know before you go.
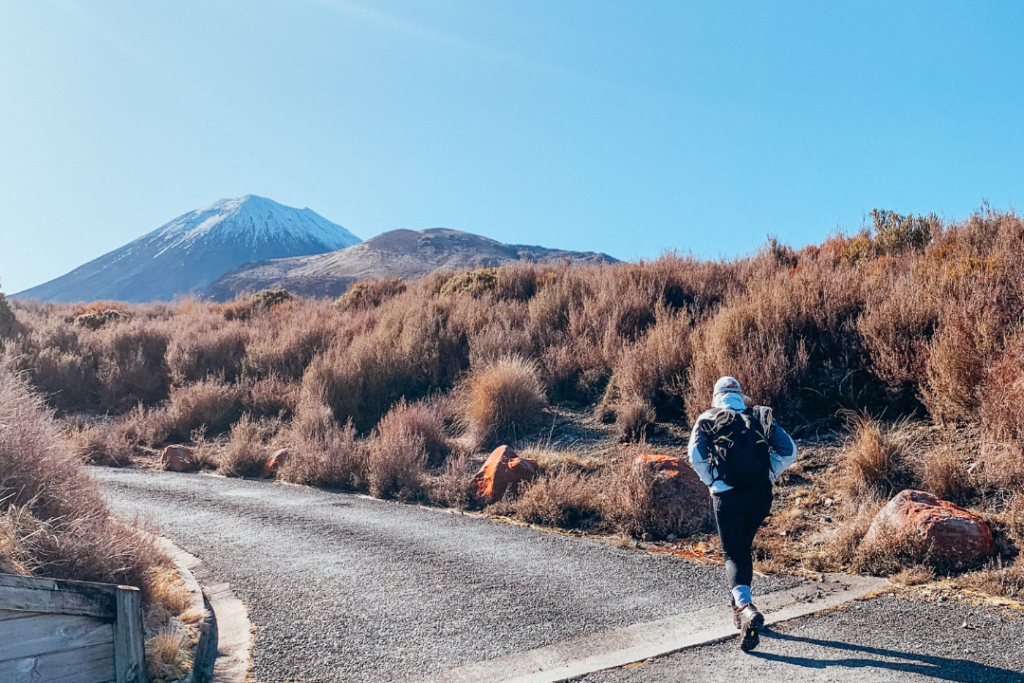
1. The track isn’t a loop – you will need a ride to drop you off & pick you up
It’s important to have your logistics organised in advance since this is such a popular hike. The trail isn’t a loop, meaning you will end up in a completely different car park from where you started. The trail begins at Mangatepopo Car Park and ends at Ketetahi Car Park. These are a 25-minute drive apart from one another.
If you don’t have someone in your group who isn’t doing the hike and can pick you up and drop you off, or you don’t have any cars, you will need to book a shuttle in advance. The last shuttle leaves the car park at around 5 pm. You need to plan your hike so you have plenty of time to reach the end before the last shuttle leaves. It costs $50NZD for a return shuttle.
If you have two cars, you can park one on the road near the end car park (the car park itself has a time limit) and then drive the second car to the beginning car park. After the hike, you will need to drive back to the beginning car park to collect the car.
We were lucky enough to have a member of our crew sit it out. They dropped us off and picked us up – but most hikers won’t have this luxury!
2. The Tongariro Alpine Crossing is completely free
You don’t need to pay any entrance fee or even register your name anywhere to do this hike. All you do is show up and off you go! The only thing you may have to pay for is a shuttle which costs $50NZD per person.
I thought this was pretty awesome since many places around the world with epic hikes charge significant fees to enter. Given the absolute world-class nature of this hike, this point is a major bonus. And it’s one of the perks of New Zealand’s national parks.
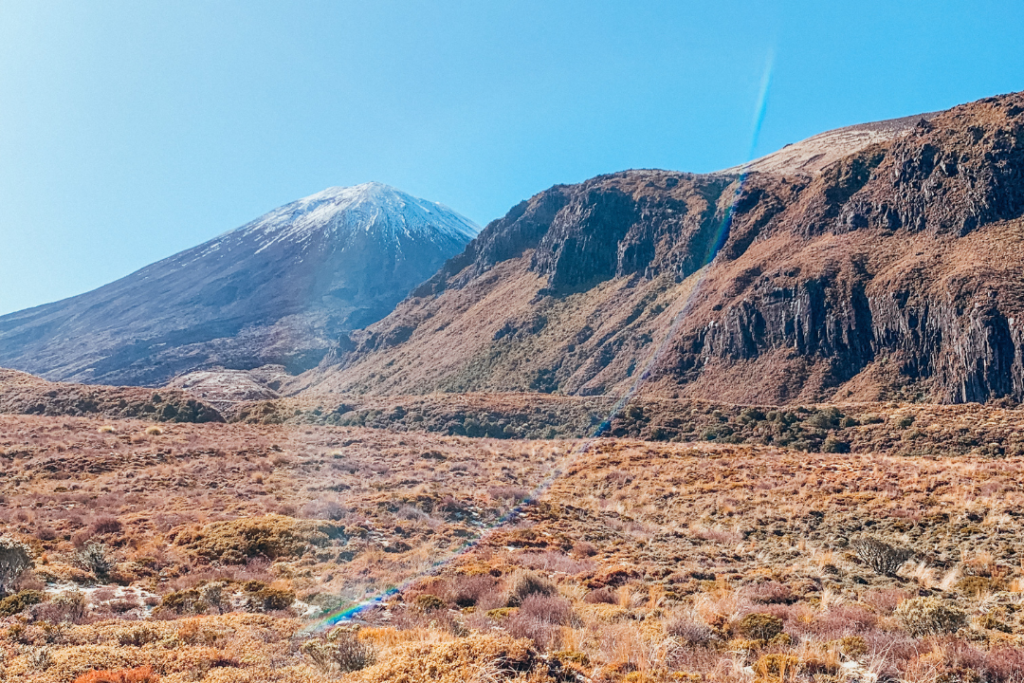
3. You can do the walk backwards (but it’s not recommended)
The Tongariro Alpine Crossing officially starts at Mangatepopo Car Park and ends at Ketetahi Car Park. This direction is the best way to go as you get the steepest and shortest climb out of the way towards the beginning of the track.
Plus it is the best direction to see the view of the stunning lakes. You’ll be spoilt by views as you begin your descent from the peak of the hike. As you descend towards the end, the landscape dramatically changes. It goes from harsh volcanic mountains with little life to a beautiful vibrant native New Zealand bush. The contrast is certainly striking!
You can however choose to walk the other way. This will make the hike take longer as the ascent is much longer but at a smaller incline. It may also be challenging to walk against the general flow of hiking traffic. This may be a good option if you are doing the hike for a second time and want a different perspective and experience.
Personally, I wouldn’t choose to do the hike backwards unless I’d done it before or I had knee issues. The long, drawn-out descent down is really harsh on your knees and toes (and your mind!).
4. Take plenty of water – there are no taps
Bring at least 2 litres of water with you for this hike. There are no taps along the way to refill water bottles and you are guaranteed to be thirsty. The climate is harsh and very dry, plus you will be hiking up a mountain for a decent chunk of the trek. Having enough water is imperative if you want to complete the hike.
The water you may find along the track in streams isn’t suitable for drinking unless you have a UV filter.
I definitely didn’t bring enough water and was almost dying by the time we got back to the car. Whoops!
5. Bring lunch and snacks
It is extremely important to keep your energy up throughout the hike. There are no shops or stalls anywhere selling anything to eat on the hike or even nearby the start and end. You have to drive a reasonable distance to get to the shops, so come prepared!
Bring high-energy foods like nuts, chocolate, and dried fruit as well as a decent lunch that is easy to pack. Sandwiches are ideal!
We chowed our lunch down at a nice spot by the red crater after a long stretch of climbing. This was a great spot to eat because the weather was amazing. However, if the weather was windy and cold I’m not too sure how easy it would be to sit down for a picnic.
6. Bring toilet paper and hand sanitiser – there is none in the toilets provided
Now if you forget to bring toilet paper you may be seriously caught out on this all-day hike! There are toilets at the beginning and the end plus several toilets throughout the hike. The toilets on the trail are super cool, they’re covered in images of the landscape they are located in so they look fully camouflaged.
However, they don’t have ANY toilet paper in them and no running water at all. So bring plenty for yourself and your group if you aren’t hiking on your own. Also bear in mind that there is a large gap between toilets from the start of the track and after the lakes if you are. The toilets in the starting car park have toilet paper, so if you forget you can take some from there.
I definitely wish I knew this before because I didn’t bring any toilet paper and had to rely on a tiny piece that my mum had. Not ideal but you’ve got to do what you’ve got to do!
7. Cut your toenails very short before embarking on the hike
Arguably the hardest part of this hike is the slow descent down to the endpoint. Once you start this descent you are only about halfway through the actual hike (there are markers all along the trek that let you know which km you are up to)! It may feel like you’ve been going for ages and are on the home run down – but it is a very long home run! And is actually quite mentally challenging.
Due to the impact walking downhill for so long has on your feet and toes, you must have short toenails to reduce the risk of getting hammer toe and losing toenails afterwards. You can also purchase some hikers wool from Bivouac or another outdoor shop to wrap around your toes to offer them some cushioning and prevent blisters. I used some hikers wool but I’ve got no clue if I used it correctly!
I didn’t do this by mistake and my toes were really sore at the end. Luckily all my toe nails survived but I can’t say the same for everyone else!
8. Bring layers, water and wind protection – even if its a beautiful sunny summer day
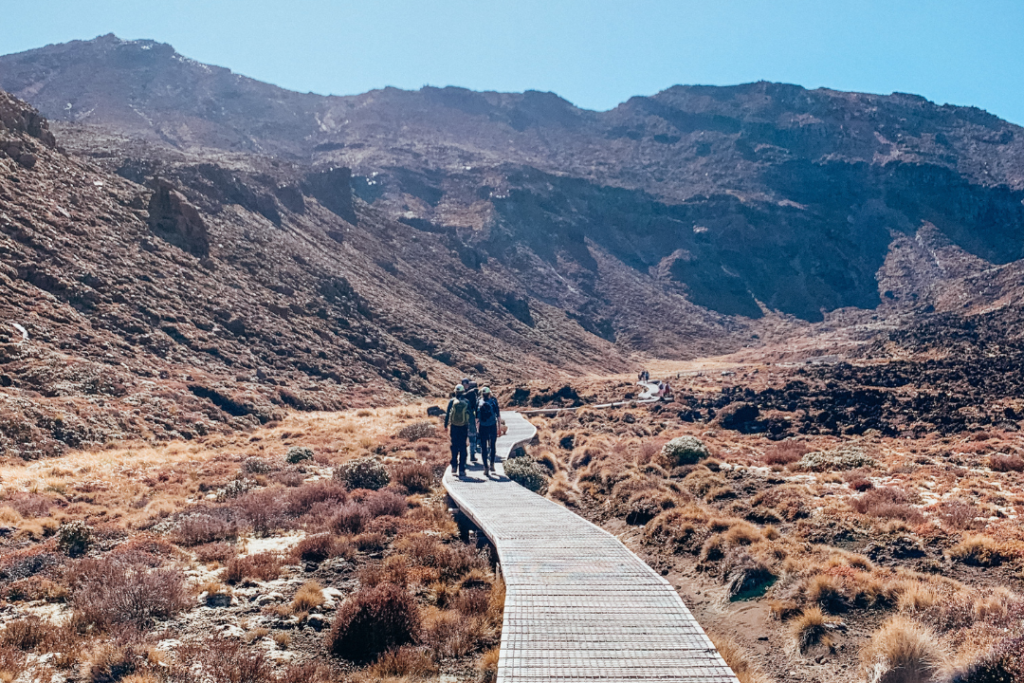
The weather up on the mountain is unpredictable and harsh even on the most beautiful of days. You must come prepared if you want to make it to the end! Up on the top where the elevation is the highest, winds can be bitterly cold, even in summer.
If it’s a sunny day you may find yourself walking in a t-shirt and sweating on the way up, as we did. However, once you reach the highest altitude portion you may be reaching for your jacket, beanie and gloves. The weather can also change extremely fast from sunny to icy rain.
Bring layers of thermals to take on and off, rain protection, and wind protection as well as a beanie and gloves. Definitely take a good backpack that can comfortably fit all of the things you need to take. Don’t skip this step!
9. Start early – give yourself plenty of time to finish
The hike typically takes 6-11 hours to complete depending on the weather and your level of fitness. Always make sure you start early enough so that you can finish at a reasonable hour and well before the sun goes down. If you are planning to do this hike outside of daylight savings hours, check the number of daylight hours and plan accordingly.
10. Wear proper hiking boots for the Tongariro Alpine Crossing
Your Nike running shoes aren’t the most sensible choice for this hike. While this hike is suitable for most people with a reasonable level of fitness, the terrain you will be traversing is best done in proper hiking boots.
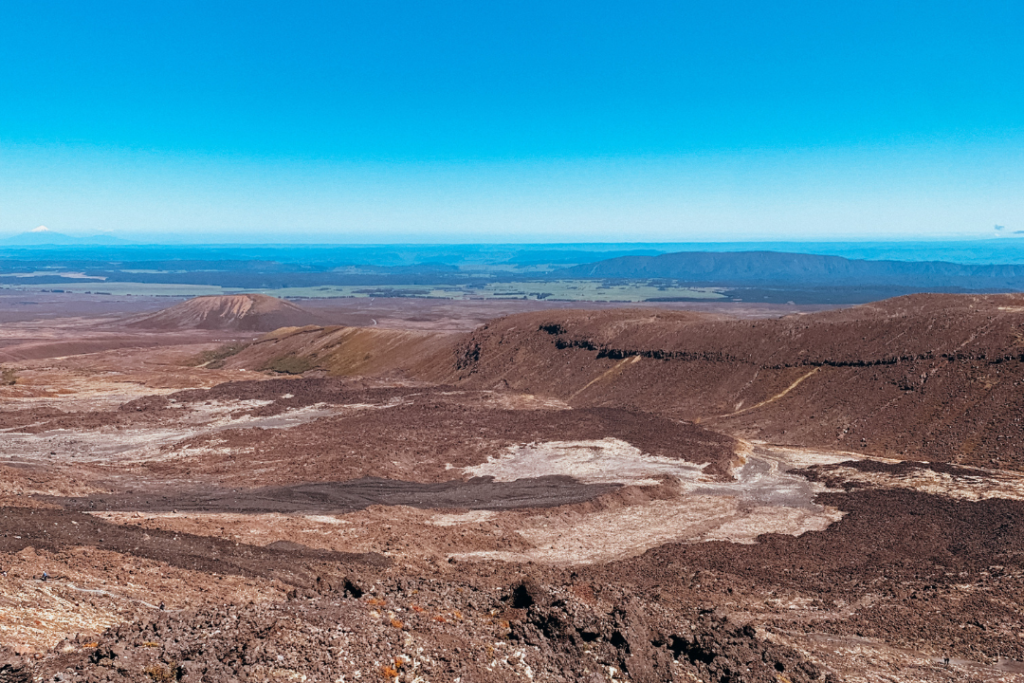
When you are ascending to the top, you are basically climbing up and then down a rocky, volcanic sand dune. The surface is very unsteady. Having the ankle support of hiking boots will protect your ankles from unnecessary injury and prevent all the direct getting into your socks!
I wasn’t sure if I’d need my hiking boots, I had in my mind that it would be easy and well-paved or something! But I’m so glad I brought them because it would of been really hard to navigate climbing up and down without them.
11. Bring sun protection
Even if it is cloudy and not summer, always wear high UV protection sunscreen and continue to apply it throughout the day. Bring extra protection for your lips and consider zinc for your nose. Make sure you bring a hat and wear it as well. Don’t forget to bring sunglasses either, you want to be able to see where you’re going!
The sun in New Zealand is harsh at the best of times and when you add in high altitude it is dangerous.
My nose was ruined for a week after this hike.
12. The end of the Tongariro Alpine Crossing can really drag on so be mentally prepared
As mentioned previously, the end of the hike is the most mentally challenging. You’ve done all the hard work climbing to the peak, you’ve seen the otherworldly landscapes, craters, mountains and impossibly blue and green lakes and it is time to start descending back to reality. However, this descent is long. It is about half of the hike in total.
It may be a shock when you realise how far you’ve come and how much further you need to go after you have passed the lakes! So just be mentally prepared that you will need to hike down the mountain for ages, even after you have seen all of the treasures of the Tongariro Alpine Crossing.
When I realised how much further we had to go, I checked out. I stopped taking photos and just tried to zone out to get to the end and it took a while. It was really hard on the body walking downhill for so long. This is why so many people have hiker poles which look a bit dorky and over the top but they actually serve an important purpose!
13. Have a hotel or Airbnb booked nearby for the night before and after
After completing the hike, chances are you will be extraordinarily tired, especially if you don’t often complete alpine hikes. It’s best to have accommodation booked for at least the night before and the night after so you can relax and get a good sleep before driving home or onto your next designation.
The southern end of Lake Taupo is a great place to stay with plenty of accommodation options. Other options include Turangi and the National Park Village. Make sure you take into account the time it will take to drive to the starting car park from your accommodation so you can still start at a reasonable hour. You may be staying an hour or more away from the hike if you are in Taupo.
We stayed at an Airbnb in Taupo. It was a pretty long drive to get to the start of the hike which meant an early morning. However, Taupo was the best spot to stay in for us all to enjoy the whole long weekend together. Well in all honesty we spent the rest of the week recovering!
14. Hydrate like crazy after the hike
You will likely be dehydrated after the hike so hydrate with plenty of water afterwards. Consider getting some electrolytes in the form of powder, Powerade or coconut water.
Also, avoid alcohol until you have sufficiently rehydrated.
As soon as we got home we popped a bottle of champagne and jumped in the spa pool. There was carnage. Don’t to this.
15. The Tongariro Alpine Crossing is an active volcano!
It’s good to know before you go that this track runs through volcanic hazard zones. It is surrounded by geothermal and volcanic activity which is definitely in your face on some parts of the track. You may see some scary signs along the way with warnings about the nature of such an environment. Chances are you won’t be lucky enough to be there on the day of an eruption. Nevertheless, it is good to know.
The track will not be open if there is a reasonable risk of volcanic activity, but there is always a risk even when the track is open. Te Maari, Red Crater and Ngāuruhoe vents have all been active within the last 100 years. The most recent eruption on the red crater happened in 2012.
Understand the volcanic risks and what to do in an eruption and check the volcanic activity before you go on the Geonet website.
There is a lot of geothermal activity present near the emerald lakes which you will see and smell. Don’t approach steam vents and stay on the marked track at all times. It is serious stuff so be safe!
16. Make sure you have a reasonably high level of fitness so you don’t have to turn back
The last thing you want to do is have to turn around and go back because you simply aren’t fit enough. Mitigate this by making sure you have a reasonably high level of fitness as some parts of the hike are steep and strenuous.
The hike is 19.4km long so try and get out there and do a walk of that length with some hills, preferably in your hiking boots. You may look weird if you are training in the middle of the city, but it’ll be worth it to complete this magnificent hike.
17. If you have new hiking boots, wear them in first before doing the Tongariro Alpine Crossing
Don’t make the mistake of wearing new boots on a big hike like the Tongariro Alpine Crossing without wearing them in first. Otherwise, your feet may be ripped to shreds and you may not be able to complete the trek. As mentioned above, do practice walks around your neighbourhood in your boots! You can also blow a hair dryer into the boots and then wear them to help the boot mould to your feet.
18. Get up to the top where the red crater is quickly (you can’t miss it!)
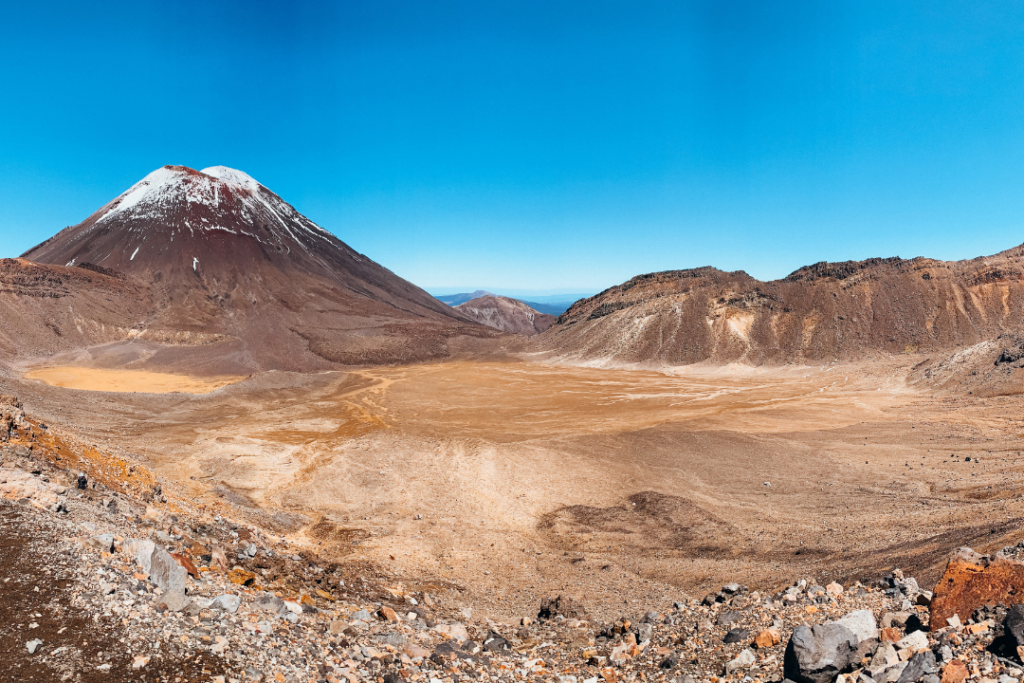
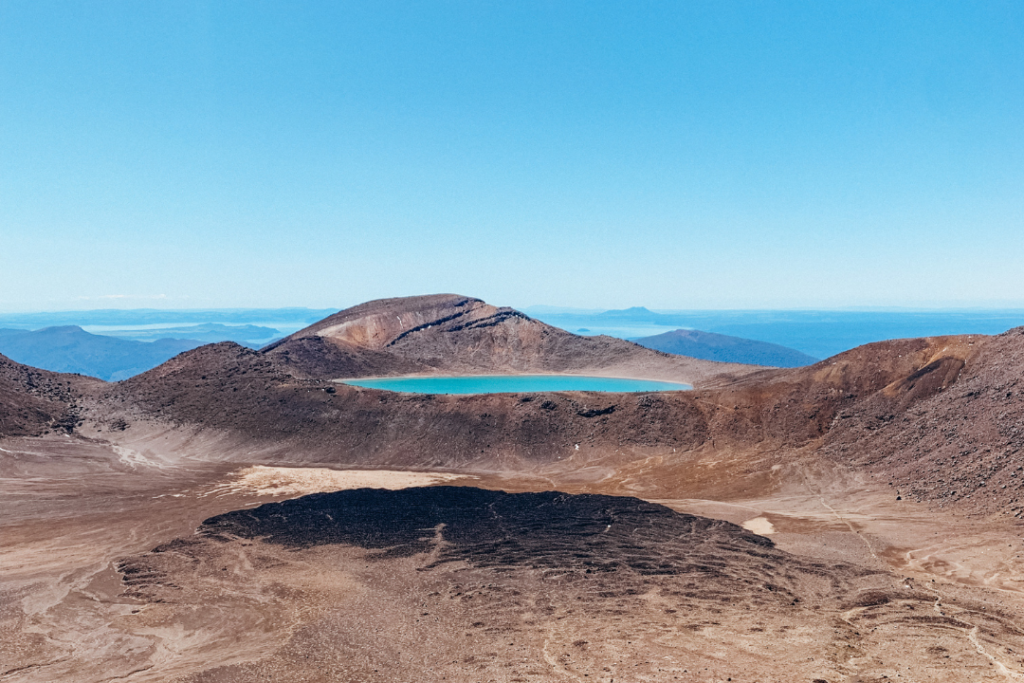
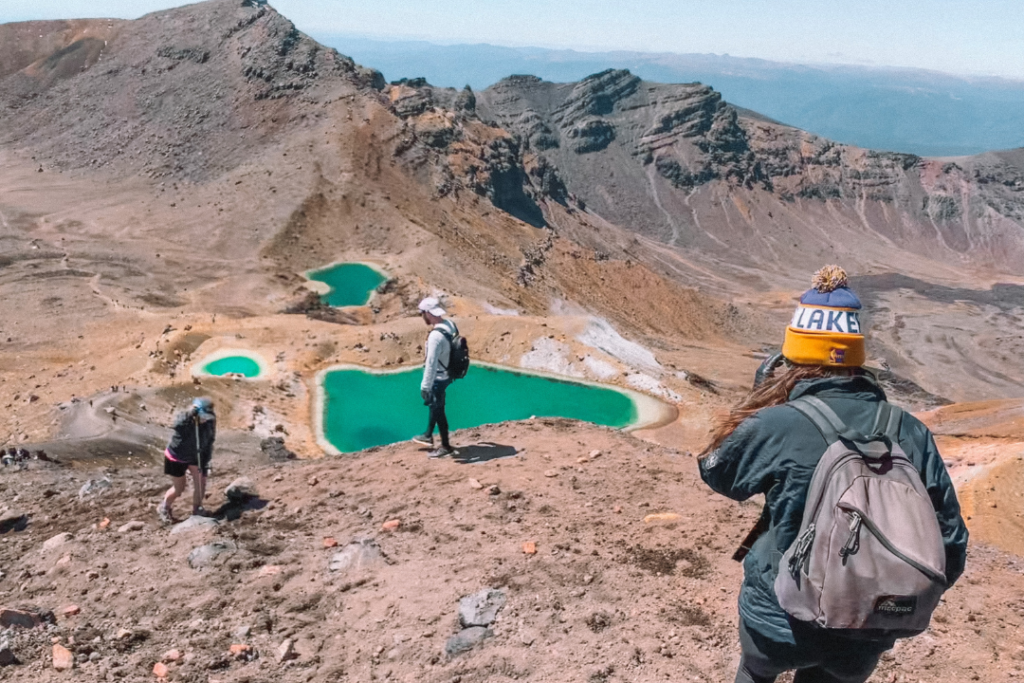
Try your best to power through the first part of the hike up to the red crater. This section has the most incredible otherworldly scenery (think Mars or Lord of the Rings), however, it is also the steepest. Once you reach the top, you want to take your time to enjoy the views up at the red crater and then also down towards the emerald lakes.
Honestly, if you are lucky enough to go on a bluebird day your wind will be blown by the sheer magnificence of the scenery and you will understand why this is known as one of the best hikes in the world. So power up and make sure you spend a decent amount of time soaking it all up!
We spent a really long time admiring the view from before the red crater all the way til after the blue lake. It was one of the most incredible views I’ve ever witnessed. It was one of those ‘pinch me’ moments and at the same time, I was wondering why it’s taken me 31 years to do it!
19. If you can, only do the Tongariro Alpine Crossing on a clear sunny day
If you have time in your itinerary for flexibility, try to do the Tongariro Alpine Crossing on a clear day with no clouds. The weather is totally out of our control, so if you only have one day and it’s not clear, still go for it. There are signs along the trail that help you judge the weather and its suitability to keep going.
It is also best to go during spring, summer and autumn from October to early March. This is when daylight savings is on so there are long hours of daylight. Plus the weather isn’t as extreme. Experienced alpine climbers are the only people who should be attempting this hike during the winter months from April to September.
For us, October was great because we were lucky to go on a good day. However, once you get up the top it is still bitterly cold so if they weather wasn’t good, it wouldn’t have been very pleasant even in the middle of spring. Summer is your best bet for a good day.
20. Bring a portable charger for your phone to the Tongariro Alpine Crossing
In case of an emergency, you want some battery on your phone! Your battery will likely be rapidly drained by all of the pictures you’ll be taking so to be safe bring a portable charger with you.
My phone died and also was behaving weirdly up the top.
21. If you have an injury you will need to be airlifted out at a cost of around $500NZD
This was a fact about the Tongariro Alpine Crossing that was delivered to us by a fellow hiker!
If for whatever reason you can’t complete the hike and can’t turn back due to an injury or some other health complication, the only way to get to safety is to be airlifted out by a helicopter. This comes with a price tag of $500 NZD. Fingers crossed you won’t need this option but it is always good to know before you go!
We met someone along the way who was seriously (kind-of!) considering taking this option out!

